WooCommerce Product Filter has a unique set of options and a variety of filters. Each filter criterion is customizable, giving you maximum control over what your customers are filtering and the results that they see. This tutorial will help you learn more about the filter by product price.
Add Price Filter
To add a filter, select “price” in the drop-down list and click Add

After you have added a filter, you can fully configure its options:
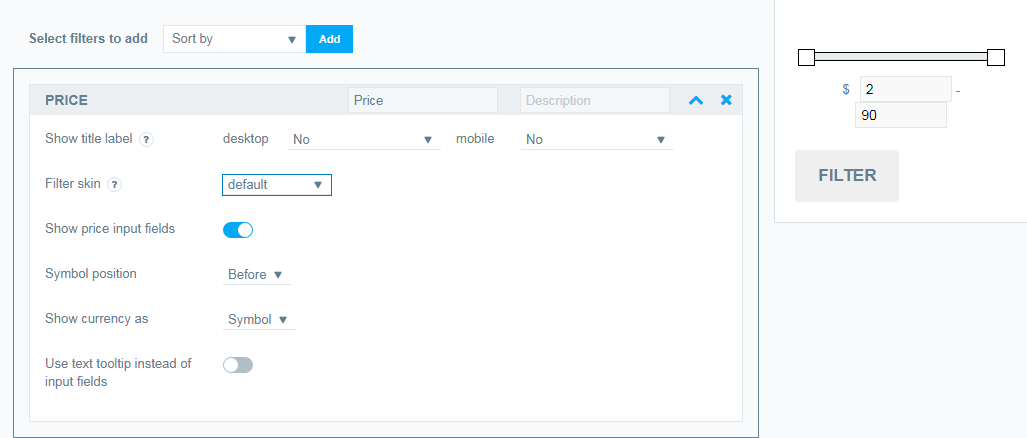
Show Title and Description
Title and Description.
- Here you can enter your Title Lable text, by default Price
- If you wish, you can enter the filter Description text (optional)
![]()
Show title label.
Here you can choose how to show the title with the function of opening / closing the filter:
- desktop (No; Yes, show as close; Yes show as opened)
- mobile (No; Yes, show as close; Yes show as opened)
Filter Skin Settings
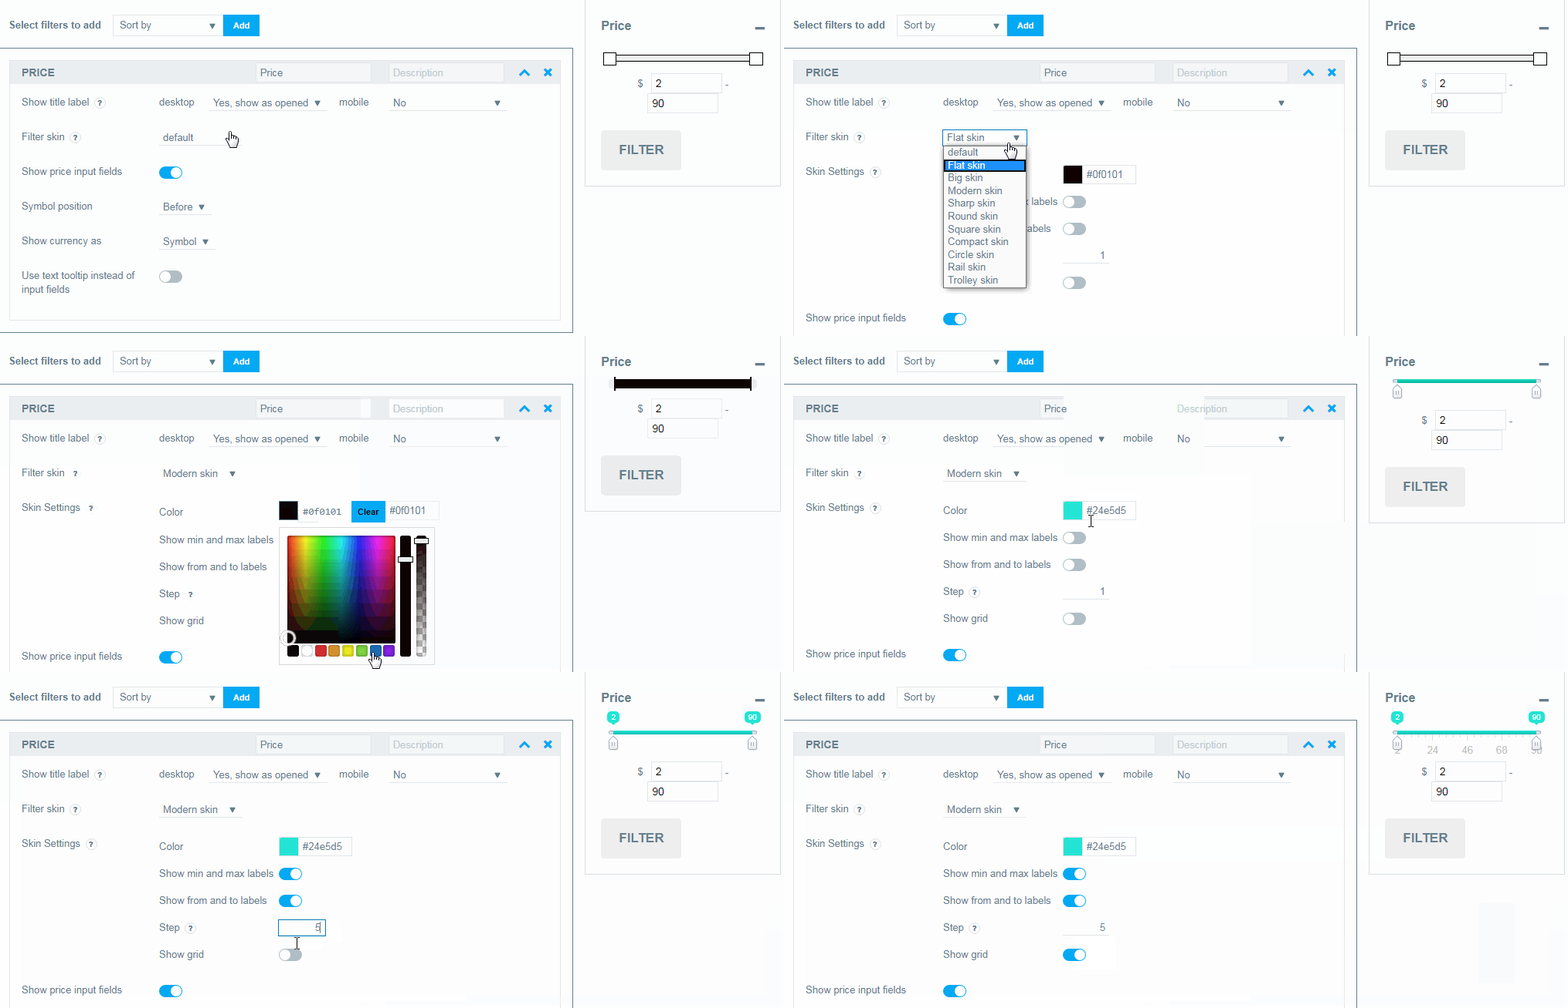
Filter skin.
Here you may select the price filter skin.The following price filter skins are available to you:
![]()
Filter skin settings.
You can improve the look of your filter by choosing the following settings:
- Color . Improve the look of your filter by choosing any skin color
- Show min and max labels.
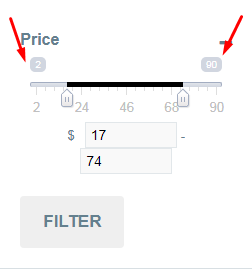
- Show from and to labels.
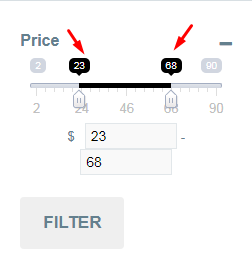
- Step . Here you may set the value of prise increase step
- Show grid. Turn it on if you want to display the filter grid.
Input Fields Settings
To configure the “Input Fields” settings, select the “Show price input fields” check box and begin the configuration.
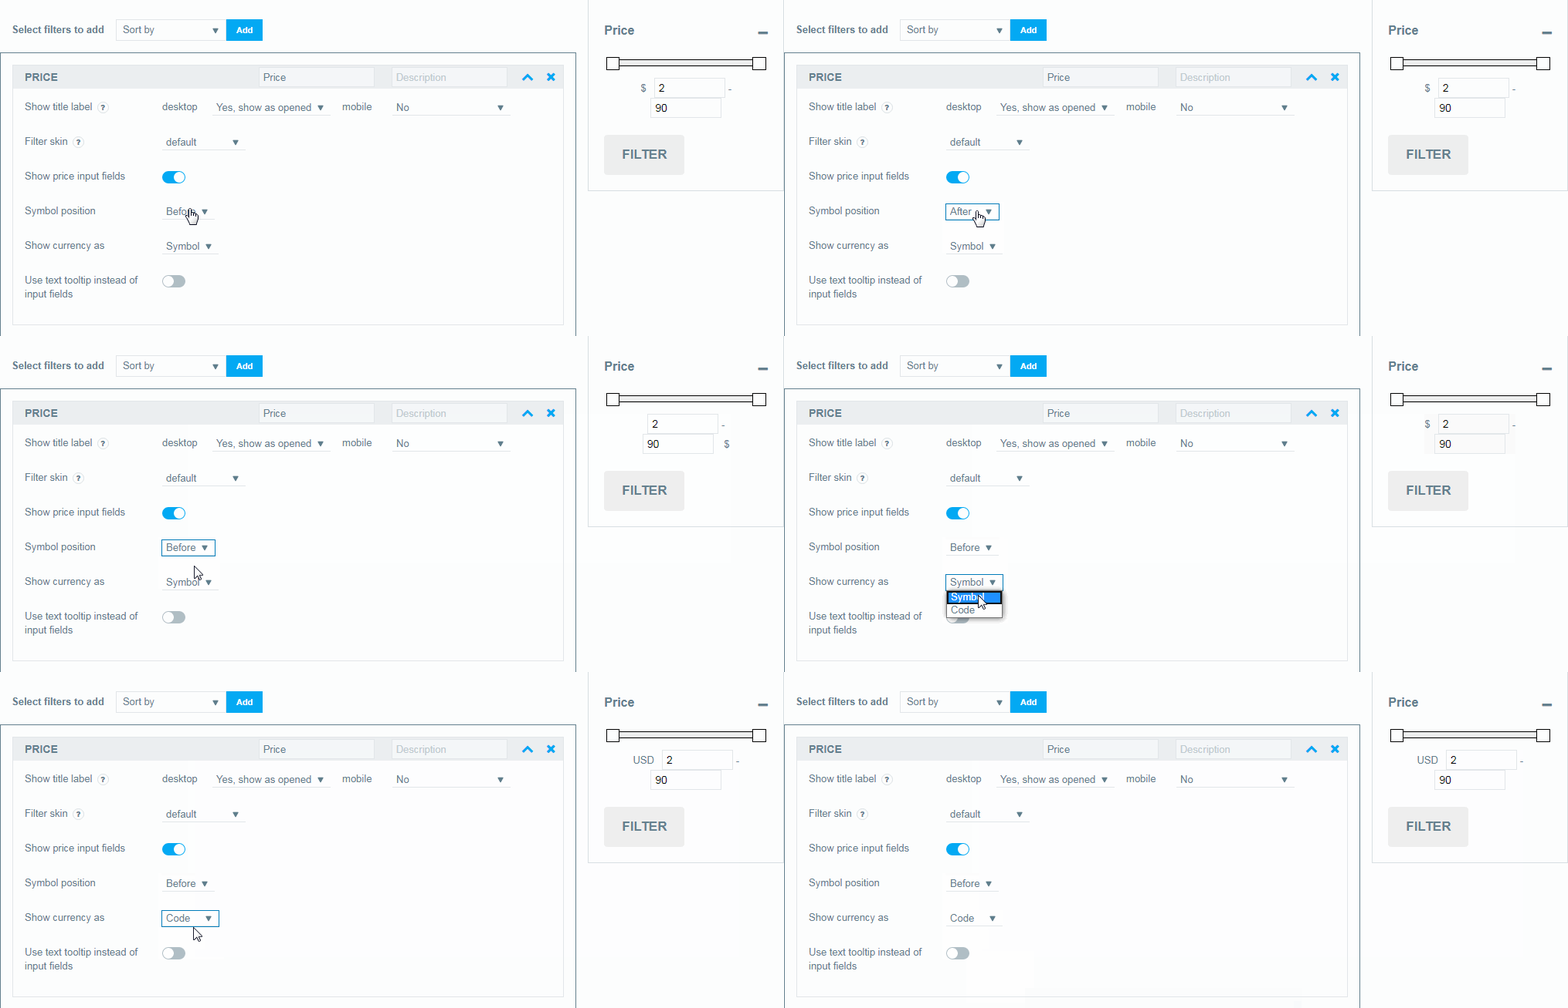
- Symbol position. Choose where the symbol (code) will be displayed (before or after).
- Show currency as Symbol . Choose how the currency will be displayed: as a symbol or as a code
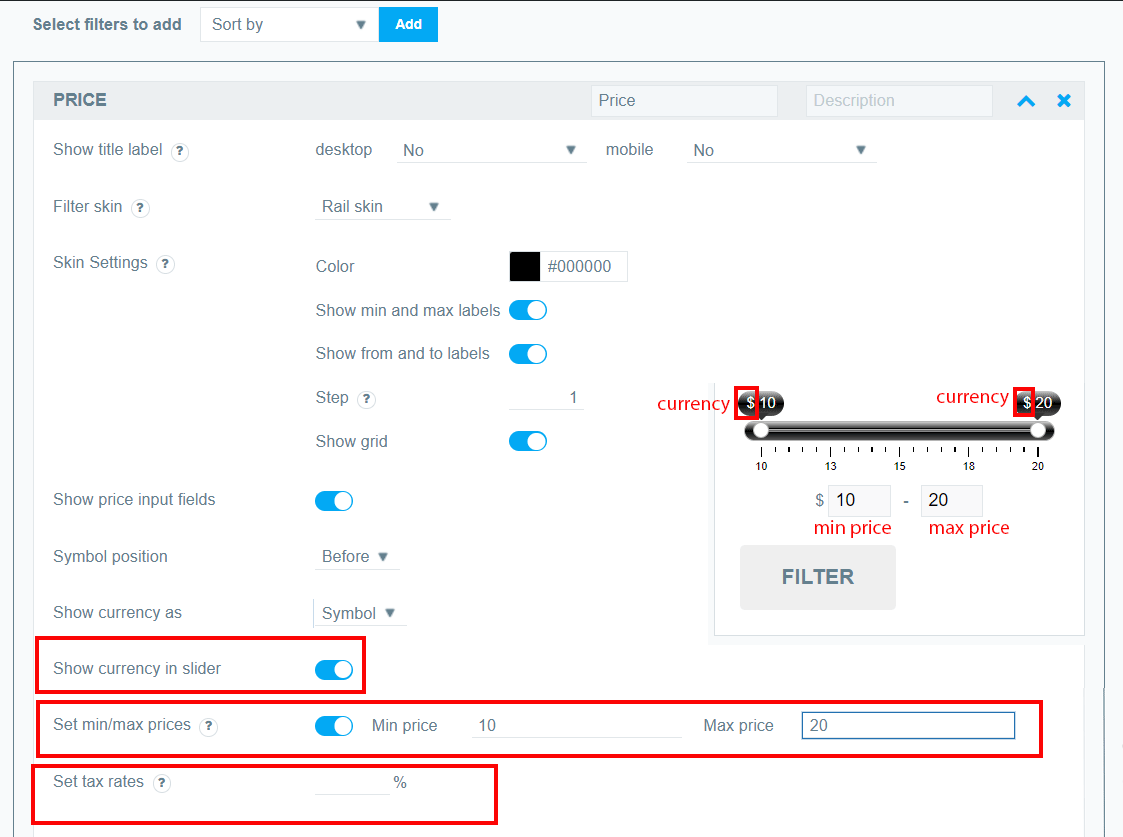
- Show currency in slider. Enable this option to showcase the currency near the amount in the slider.
- Set min/max prices. By default the filter takes the data based on the prices of the products, however, you can manually change it. Please note that the option doesn’t work with the recount prices option!
- Set tax rates. The values will be changed by the specified percentage.
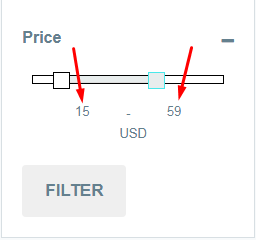
- Use text tooltip instead of input fields. If you selected the default skin, then you can use the text tooltip instead of the input fields
Still have questions? Read our detailed documentation or Contact us and we will be happy to help you