
Today there are a lot of different choices, and product types. You can filter by color, size, materials, and other features. It is very easy to get lost in a wide range of available options. So, the comparison process is one of the most important activities users perform during purchasing. To simplify this, you can design a comparison table putting all the crucial item’s attributes in one place. As such, users can quickly get an overview of your offerings at a glance.
When you need a comparison pricing table?
Comparison pricing table is a great way to illustrate all the product’s advantages and disadvantages. It is well-suited not only for goods in e-commerce but also for:
- Services
- Membership levels
- Software packages
- Tuition rates.
Pricing tables are the most used for “large” purchases when people tend to doubt about their decision. In fact, when customers do not know which product to choose they are likely to end up not buying altogether. Such a phenomenon is called choice paralysis. So, to avoid these deadlock situations, retailers create comparison tables.
How to create a pricing table?
Now we are going to create your first Pricing table containing different learning plans.

Pricing table example
To create this, we used a Pricing table plugin from WooBeWoo, which has a number of useful features:
- Responsiveness
- Import/export options
- Ready-to-use templates
- CSS editor
- Table builder
- Compatibility with any WordPress theme.
Find it in your Plugin’s directory, install, activate and let’s get started.
Step 1: As we mentioned above, WooBeWoo has pre-set pricing templates. Therefore, the first step is to choose the best one for you and type the table’s name as. In the example above we used a Gradient Standard template.

Choose the table template
Step 2: Press Save button, and you will see a new window with a lot of different options. Let’s explore all of them step by step.
Products block allows users to add the items to the pricing table. Here you cannot create new goods, you can only select them from your WooCommerce Products. And in the Product Properties block, select the attributes to advertise your goods.
We added three products (Basic, Intermediate, Advanced) with such properties:
- Regular and sale prices
- Sold individually
- Stock status
- Virtual
- Downloadable.

Products and Product properties
Step 3: Now set up the main settings like:
- Table width
- Table and text-align
- Font
- Colors for table, text.

Customizable options
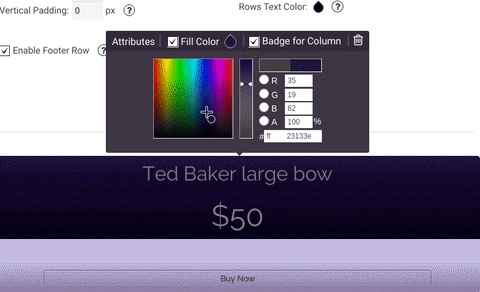
One hint: you can also press the element which you want to edit on the preview table.
Customizing options
Step 4: The last step is to add a new pricing table to your site. For this, copy and paste Shortcode or PHP code.

Table shortcode
That’s all! Our congratulations! You’ve just created your first Pricing Table. For more information, please, visit our plugin’s documentation.