WordPress is a great platform for creating an ecommerce store. Why? Because there are almost infinite capacity to customize your website, which is limited only by your imagination. WooBeWoo Product Table plugin allows you to create the most convenient way to display all your products. Users can add caption, sorting, pagination, search field, and even more to optimize the conversions and speed up the order process. One way of doing this is to add an order form. Here we will explore step by step how to do this using WooBeWoo Product Table plugin.
Order form: what is it?
Order form enables users to quickly scan and compare all your products. Also, it changes the way in which products are displayed in your store. Here is how it looks before we add an order form.

And now we add WooCommerce order form.
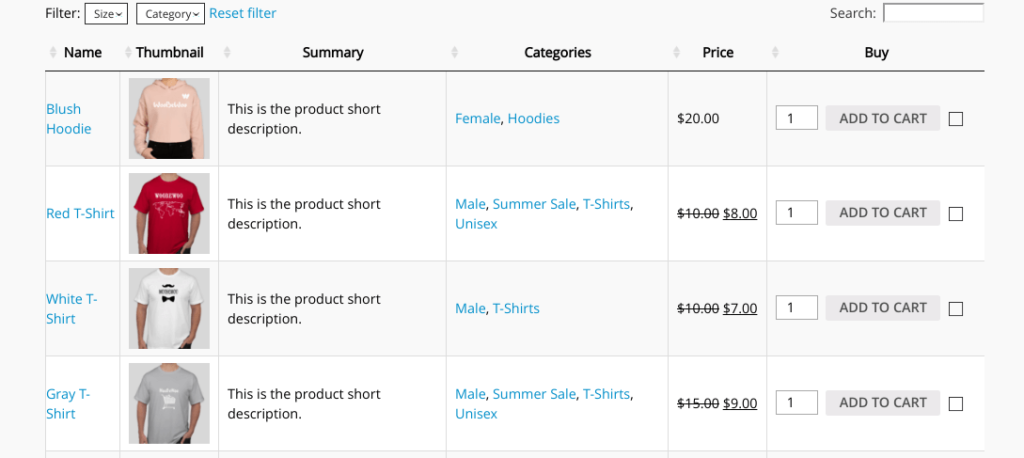
See changes?
First of all, order form lists multiple products all on top of each other in contrast to the standard WooCommerce store, where each good takes up a relatively large amount of space. Such products displaying allows customers to quickly see all the important features before they buy it.
Another distinction is in process of how consumers make a comparison. If you have a blocky standard layout, they need to click on the item page and only there read all the information related to the good. Moreover, to compare the items, customers need to open up multiple tabs and switch between them. Order form allows making it easier and quicker.
To sum up, you need an order form, if you want to:
- Make a searching process more comfortable
- Add a neater and more ordered manner of item’s displaying
- Make a more accurate comparisons
- To simplify the buying process.
No doubt, you’re already thinking of ways to add the order form to the site. So, let’s explore it.
![]()
![]() Attention
Attention![]()
You can boost the sales with the order form.
![]()
Order form: how to set up?
In this section, we will provide you with a detailed instruction on how to add an order form to the WooCommerce store. First of all, you need to set up WooCommerce plugin. Then, get and install the Product Table plugin. We will use WooBeWoo.
Step 1: create a new page
After installing and activating all the necessary plugins, you need to create or download all necessary goods to your product table. Read these docs to find more information. After that, set up a new page on the site where you will use an order form. For this, navigate to Pages -> Add New.
If you want you can add the order form to the text widget, post, shop or category page template site. We prefer to add a new page.
Step 2: customize the page
Now you can make this page more interactive, just add some text, links or media. Of course, if you are going to add an order form to the existing page, just ignore this step. All options are available within this panel.
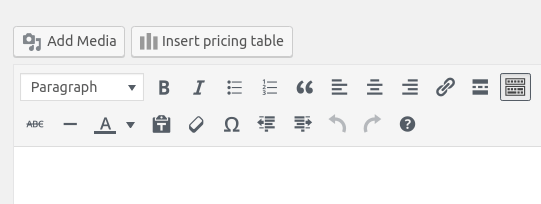
Step 3: Add a product table
To add a product table, follow these simple steps:
- Go to the place where you want to add a form
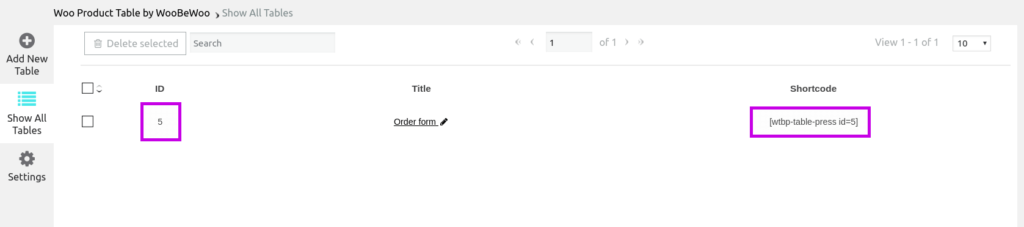
- Click on the button “Insert product table” or write this shortcode: *
- Click on the Publish button
- See the results
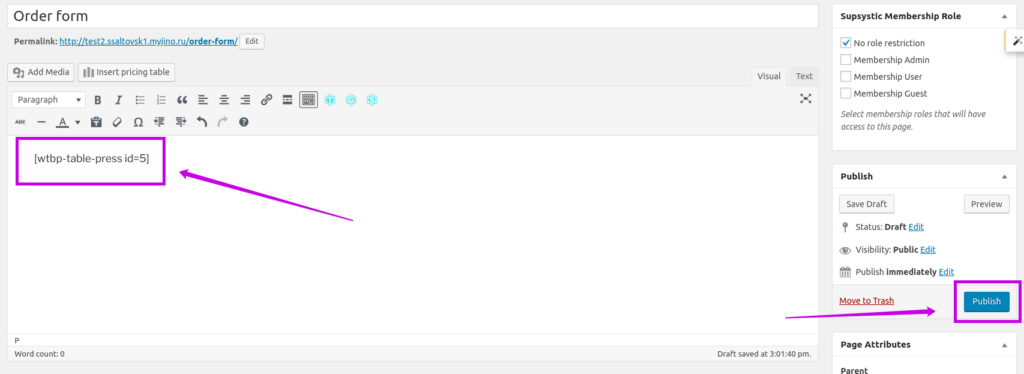
* X is the id of your existing Product table. You can find it here.
Conclusion
So. there’s no rocket science here. This simple steps will help you to increase the conversions in a quick and simple way. Also, you can read more tips about how to enhance upselling and cross-selling in our previous blog post. And now enjoy the results.