How many countries is your business working? One? Two? Or maybe more than 10? The Internet allows to quickly expand your services through the different countries. It ruins the barriers and boards. Today people can easily order the goods from China, USA, living in Europe. So, it is very important to create a good UX experience for people from different countries. One of the most notable details is currency in which the prices are displayed on the site. Today we will guide you how to create a dress store with currency switcher.
Why do you need currency switcher?
Suppose, you are running an online store from the United Kingdom, where the national currency is GPB, but most of your buyers come from different countries such as USA, China, Germany and so on. Therefore, placing all the items’ prices in Pound Sterling is not a good idea. Would you agree to that? If yes, then you will need a plugin to convert GPB to those countries’ currencies, like a WooBeWoo Currency Switcher.

It enables your website’s users to switch currencies and get their rates converted in the real time. Other features:
- Automatic exchange rate setting for each currency
- Currency switcher, list and converter on the frontend product page
- An unlimited number of currencies.
So, let’s start!
![]()
![]() Attention
Attention ![]()
It is very important to create a good UX experience for people from different countries. One of the most notable details is currency in which the prices are displayed on the site
![]()
How to create a dress store on the WooCommere platform?
If you are starting from scratch, you need, firstly, to install and activate WooCommerce.Following these steps:
After that, in order to create a dress store, you need two plugins: WooBeWoo Product Table plugin (to create a responsive table of the selected products), and WooBeWoo Currency Switcher (to allow the customers switch products prices to any currencies).
Learn how to create a product catalog for the tech shop from our previous blog post.
How to create a Product?
Creating a product catalog is a simple process, but it has some specificities. Firstly, you need to create or upload the products before making the manipulation with them. For this, navigate to Product (find it on the left menu). After that, find two options:
- Add new
- Import.
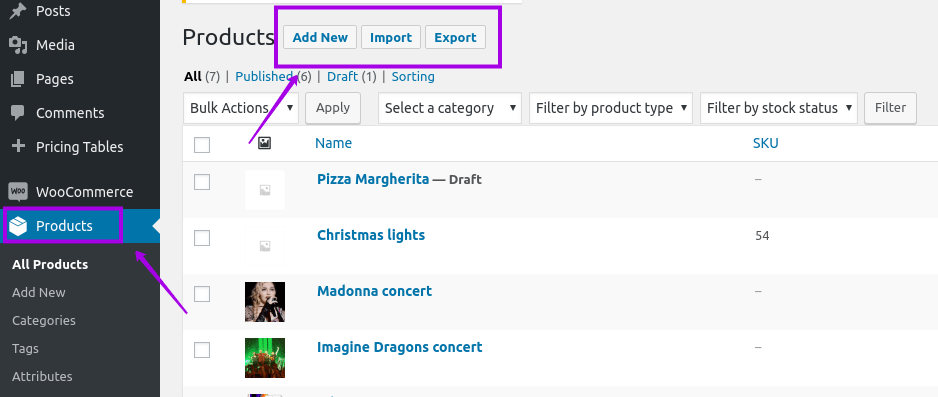
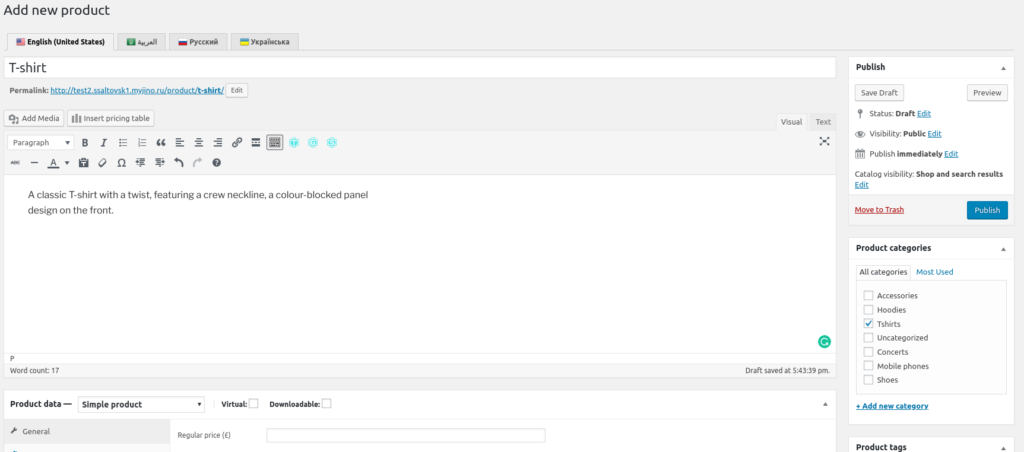
Create a new product
The first one allows you to create the product manually and with the second option, you can import the products from the CSV file. Choose what is the most suitable for you.
If you click the Add new button, you will see a page with a lot of empty blocks and fields you need to fill.
Add a product’s attributes
You can read our previous post, where we described how to display and customize the product’s attributes.
How to add a product catalog?
For the next step, you need to the installed WooBeWoo Product Table plugin. If you haven’t done it before, you can do it right now by clicking the button below.
Find in your plugins’ directory Woo Product Table by WooBeWoo. Then, Add a new table, type its title, and start to customize it.

Customizing Product Table
1 – Select the appropriate products from the list below and add them
2 – Here you can choose and add columns
3 – Table settings. Find and tune its appearance, language, and other features
4 – Preview your table before saving
5 – Save it
6 – In order to add a new table to the site or page, copy the shortcode on the right (or choose another option).
Let’s move on!
How to add currency switcher?
So, now you have a ready-to-use product catalog. But from what we began? Remember? We want to add a currency switcher to our store. Now it looks like this.
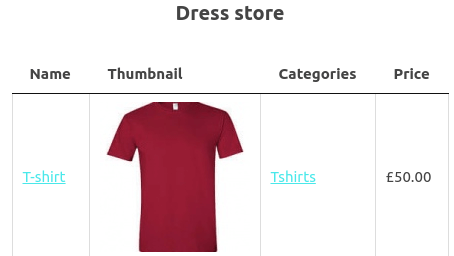
Dress store without currency switcher
First of all, you need to go to the main plugin’s page and download it.
After that, let’ install it:
- Navigate to Plugins -> Add New
- Press “Upload file” and choose plugin archive from the folder
- Move to Plugins menu, find our plugin and click “Activate”.
That’s all! Now we ready to start using it.
How to configure the Currency?
Firstly, decide which currencies are the most important for your business, and which currencies you are going to show on your site. Then go to WooCommerce -> Setting -> Currency.
Here you can make the following settings:
- Check left button to set your site basic currency
- Enter currency Title
- Select the currency symbol
- Select the position of currency sign
- Currency rate manually / press Get Rate button
- Exchange rate.
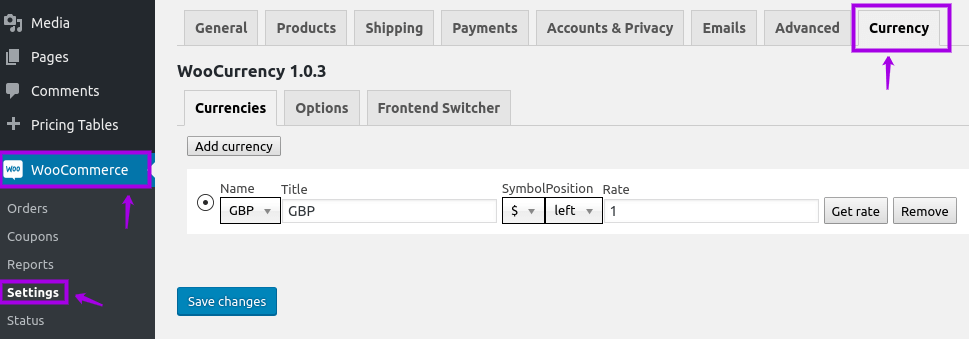
Configure the currency
Now move to Options tab. Our plugin provides you with three platforms which are providing the latest exchange rates:
- Xe
- Cryptocompare
- Free Converter.
So, here you can select the best platform for you.
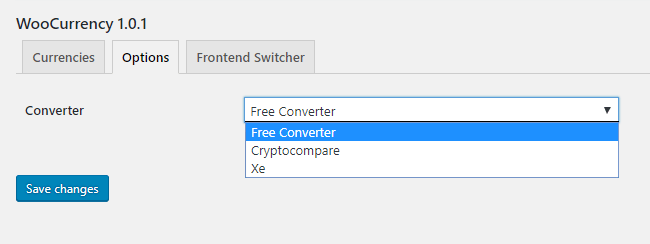
Options tab
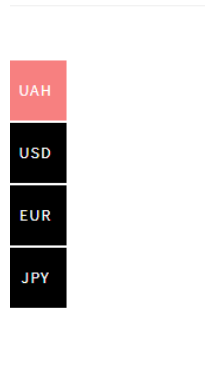
Now will be the most interesting part. Let’s customize the appearance of our switcher. You have three types:
- Simple: display the Switcher like a bar, to pick the currency by click
- Rotating: has the animation and creative form and design
- Floating: saves space on your store page and floating by mouse-over.
Floating type Simple type Rotating type

The last step is to add a currency switcher to the store. For this, you need to go Appearance -> Widget.
Here you can find the widgets:
- WooCommerce Currency Switcher
- WooCommerce Currency Converter
- WooCommerce Currency Rates.
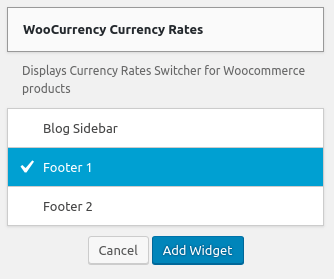
Add widget
Click on them and press Add widget.
Last words
So, the WooBeWoo Currency Switcher is an ideal solution to make your dress store in multiple currencies and providing the best experience for your customers.