WooCommerce Product Table is very simple to set up and take just a minute to manage Table Content and Columns.
Before to make Product Table Settings, firstly you need to add products to the table in the Content tab.
The plugin uses the product data already created by WooCommerce itself.
You can add products to WooCommerce manually or add them using a CSV/XML import. Just one click – and all your products uploaded into the table content
Add products to the table:
Manually
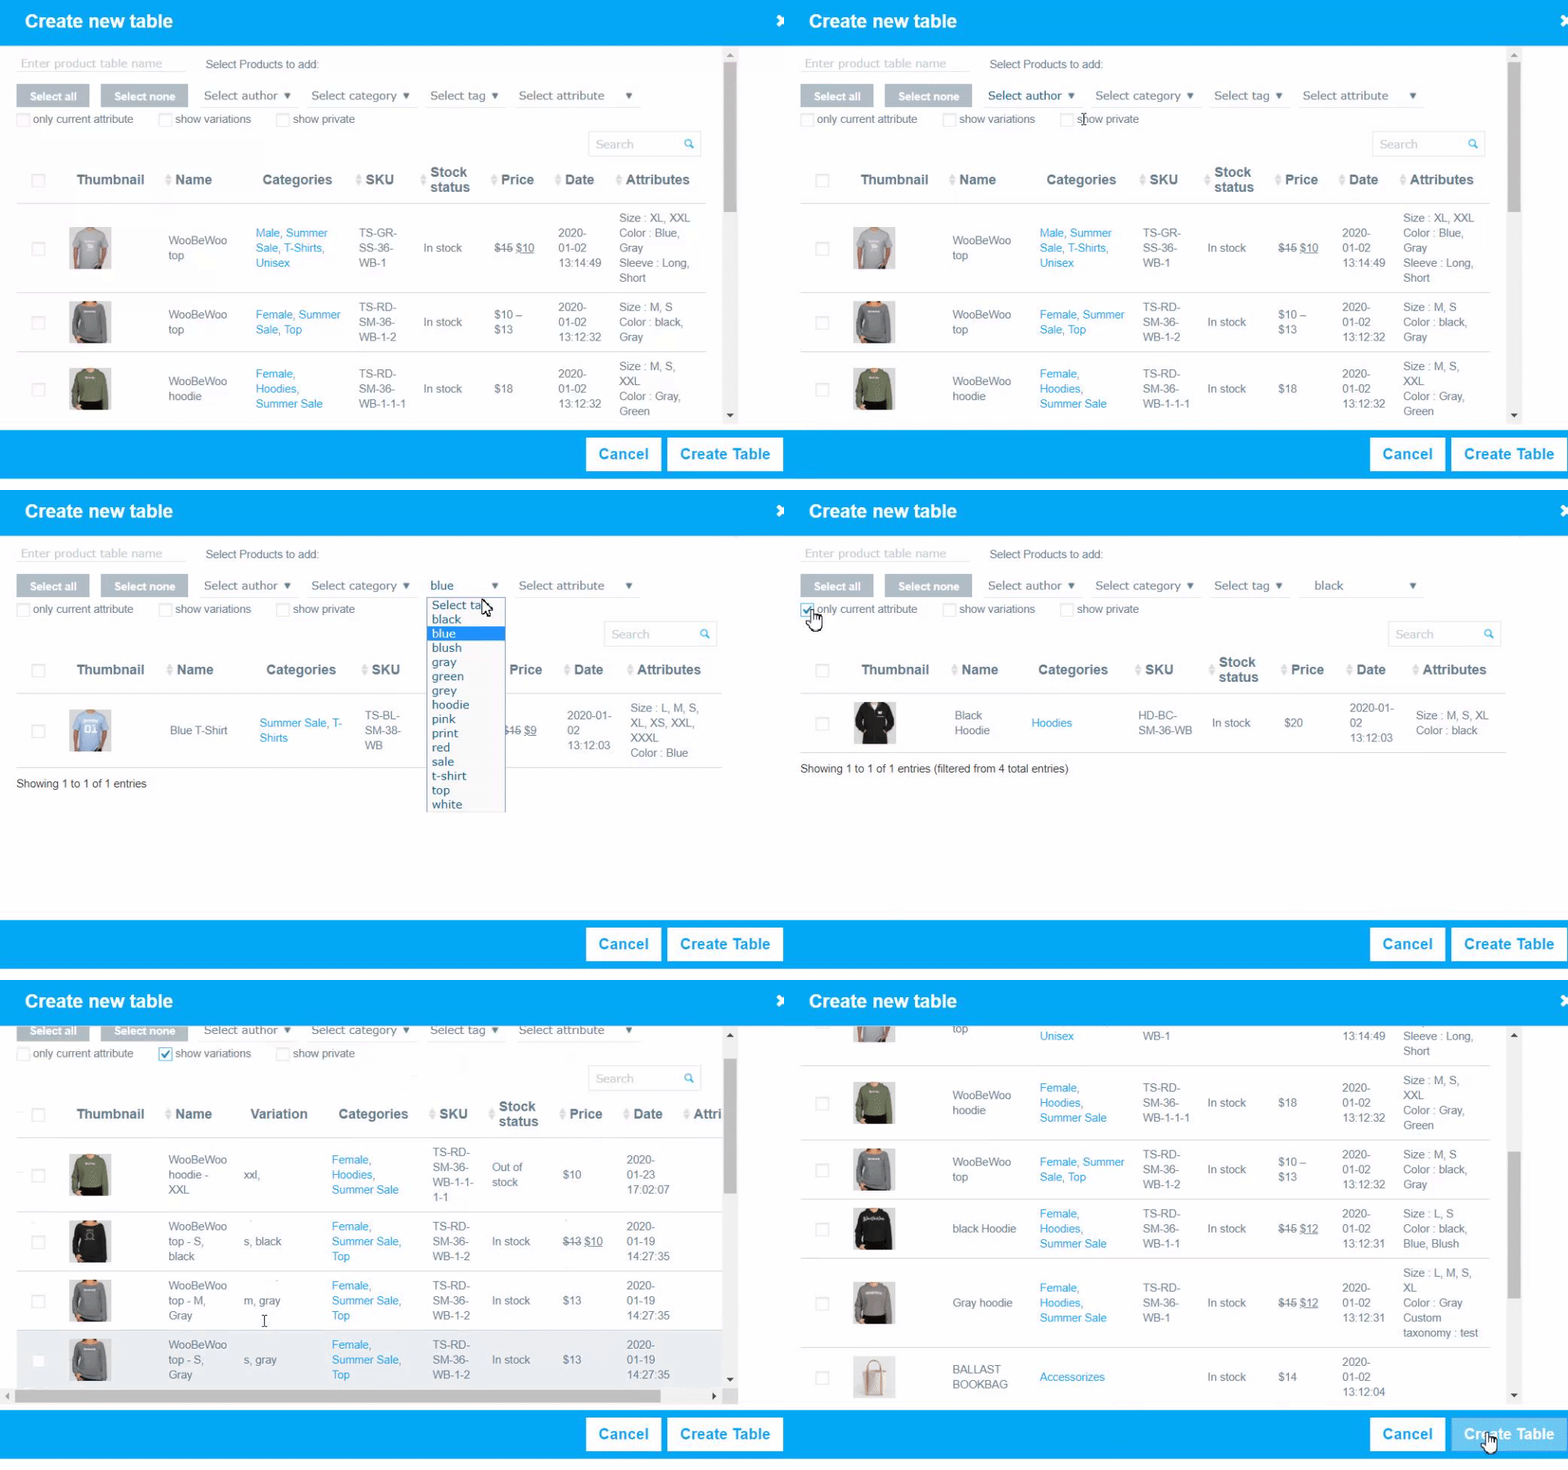
Select the necessary items and add them to Manage Table Content.

You can select all the products at once or filter them by:
- category
- attribute
- author
- tag
- in a table: yes/no
and sort product in order by
- name
- SKU
- price
- date and other parameters
Searching by keyword is available.
Also, here you can find checkboxes with the following parameters:
- only current attribute – filter by attribute will display the single attribute exactly matches the search criteria.
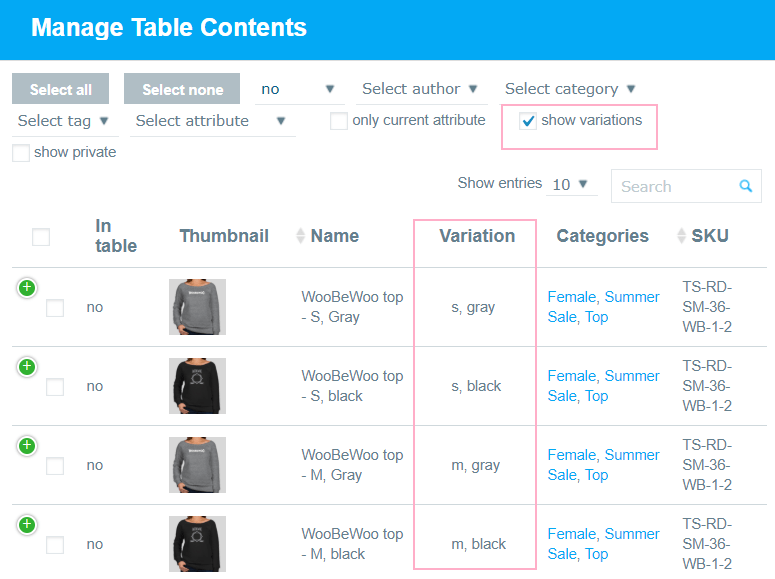
- show variation – display the variation of the variable product separately.

- show private – display private products on the list.
Automatically
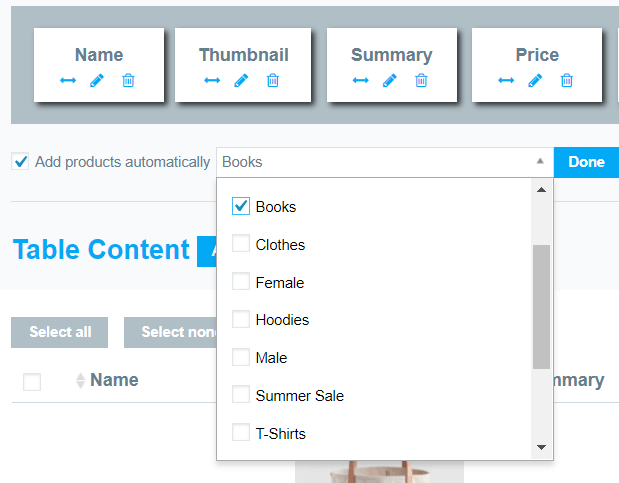
One more way to easily add products automatically (pro) by category multiselection – just choose categories from the drop-down list. All the new products you will add to your shop will be automatically added to the table according to the selected category. All the new products you will add to your shop will be automatically added to the table according to the selected category.

Sort the Added Products
After you have added products, they will appear in the table in the order they were added. But you can sort them manually or by any product parameters.
To do this, go to the Settings / Functions tab and click on the Use pre-sorting checkbox.

Now select the Sorting type:
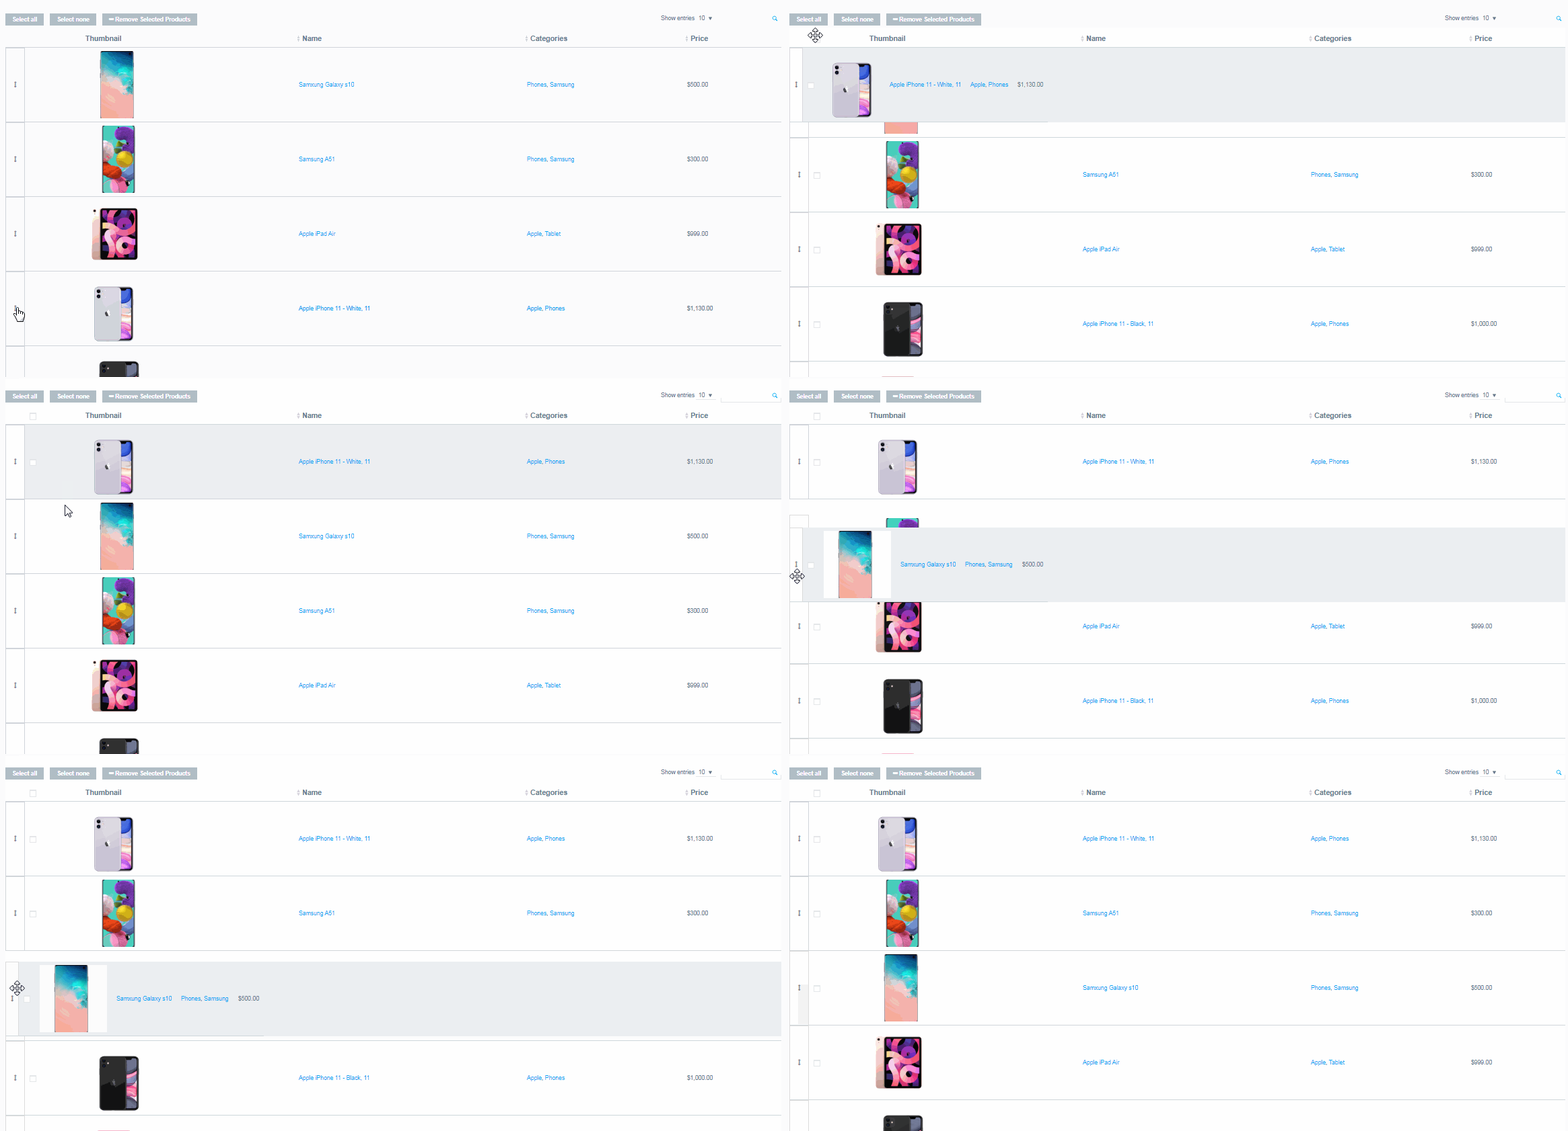
- Manual . Select Manual option if you want to add a sort by drag-n-drop from the admin table preview to the frontend.

- Popularity.
- Rating
- Newness .
- Price .
- Random
- Name .
- Menu Order.
Now, as you can see in the preview, the products are sorted in ascending order according to the selected parameter . But, if you want to set descending sort according to the selected parameter, click on the Sorting descending checkbox.
Still have questions? Explore our detailed documentation, or contact us and we will be happy to help you.