WooCommerce Product Table plugin fully compatible with Advanced custom fields (ACF). You can create custom fields for your products and display them as columns in a table.
Custom fields are a great opportunity to add any necessary information about your products. You also can add additional data that can not be added in any of the fields that come with WooCommerce by default.

In order to add the custom field to the product table, you need:
- First, you need to create the custom field that you will use to add the data in the Advanced Custom Fields plugin (free).
- Move to the Custom fields and click “Add new Field Group”
- Make sure you select the ‘Products’ post type. This is essential to make the custom field appear on the Add/Edit screen for your products.


- Press “Add Field” and add the label, field name and select the type field do you need. You can add any type of fields: text, link, image, oEmbed, file, WYSIWYG editor, etc. On this example, we will add the WYSIWYG editor to add the video content to the column.


- Once you added any type of field, it will appear on the product page.
- Move to the Products and click on “Add new/edit the Product.
- Scroll down to the created custom files and add the data – link, picture, code, etc (we are using youtube embed video shortcode for example) and update/publish a product page.

Once you have created your custom field, use these instructions to display it as a column in the table:
- Move to the Product table (pro version have to be active) and create or edit the table.
- Add the product with this custom field to the table. Use the searching or sorting for better navigation.
- Then, add the column with a custom field.
4. Save a table. You can display a table with any type of fields you added to the product.
You can create as many custom fields as you need, and list each one as a separate column.
How to add links, downloads, icons or buttons
If you want to create a button or icon, use a custom field to store the code or shortcode for your button/icon. The exact method for adding the button or icon will depend on your theme. For example, your theme may provide a shortcode for buttons or icons. If you don’t know how to do this, ask your theme developer.
Here as an example, we added the link with a custom icon as a column via WYSIWYG Editor type of custom field:
<p style="text-align: center;"><a href="https://woobewoo.com/plugins/table-woocommerce-plugin/" target="_blank" rel="noopener"><img src="https://woobewoo.com/wp-content/uploads/2019/05/icon-example.png" /></a></p>
And added the music player via the same type of custom field:
<iframe src="https://drive.google.com/file/d/1HuF6MObRunMtI0sOkcaHrWtgJ5aSEiwU/preview" width="300" height="60" frameborder="0">
</iframe>
Here you can see the result:
| Thumbnail | Name | Editor2 | Editor |
|---|---|---|---|
 | Juno Jee |
|
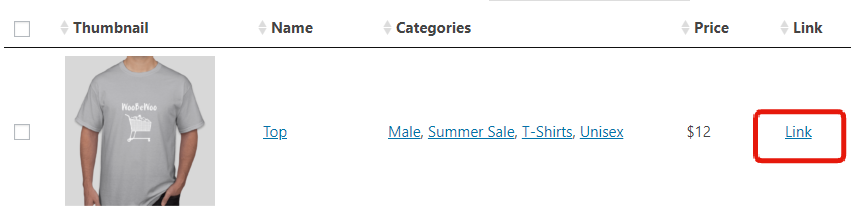
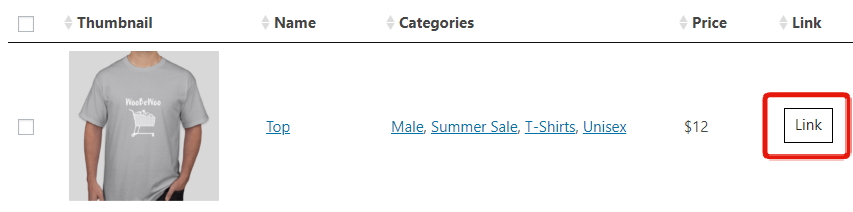
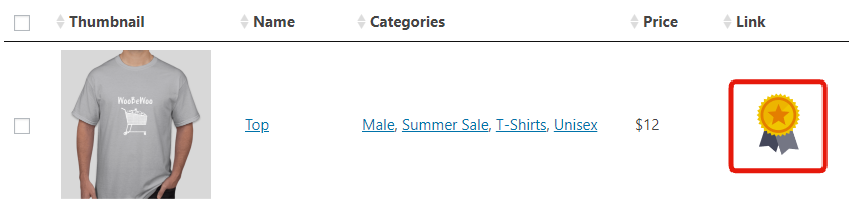
Also, if you add a custom field with “link” or “file” type to the product, you can display them as an icon, link, image or button:
![]()
![]()
Link:
Button – style depends on your theme template
Icon:

Image – upload any images as a custom icon (max width – 300px)
True/False – set the false or true status for your product. Also, in our plugin you can edit label for True.

Look at the example of the WooCommerce Product table with custom fields here.