Product Plugin is very simple to set up and take just a minute to manage Table Content and Columns.
Before to make Product Table Settings, firstly you need to add products to the table in the Content tab.
The plugin uses the product data already created by WooCommerce itself. You can add products to WooCommerce manually or add them using a CSV/XML import.
Just one click – and all your products uploaded into the table content.
Add products to the table
-
Manually
Select the necessary items and add them to Manage Table Content.
You can select all the products at once or filter them by:
- category
- attribute
- author
- tag
- in a table: yes/no
and sort product in order by
- name
- SKU
- price
- date and other parameters
Searching by keyword and product SKU is available.
Also, here you can find checkboxes with the following parameters:
- only current attribute – filter by attribute will display the single attribute exactly matches the search criteria.
- show variation – display the variation of the variable product separately.
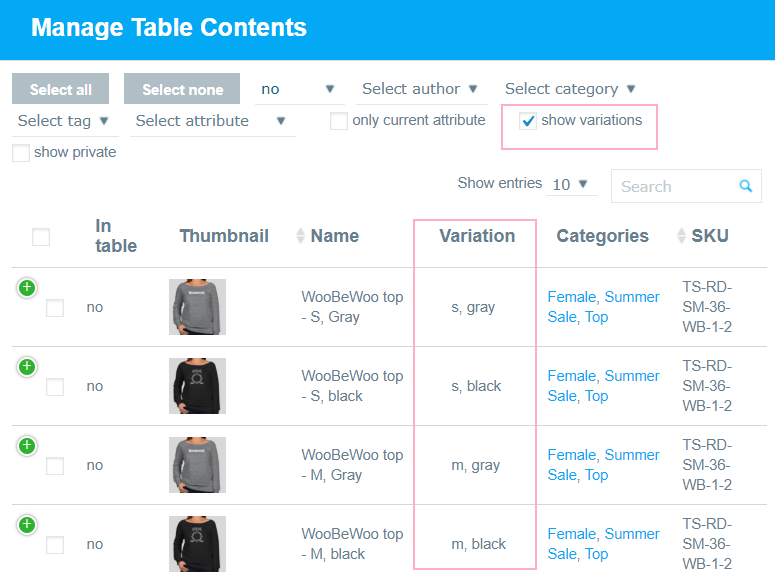
- show private – display private products on the list.
-
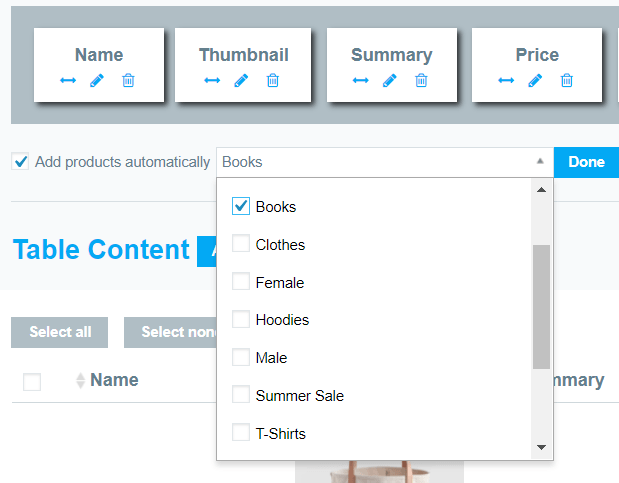
Automatically
One more way to easily add products automatically (pro) by category multiselection – just choose categories from the drop-down list. All the new products you will add to your shop will be automatically added to the table according to the selected category. All the new products you will add to your shop will be automatically added to the table according to the selected category.
Columns Settings
Once you selected and added columns to the table, you can click on the “Pencil” icon to edit column properties.
All columns have similar settings, some of them have additional properties.
Here is a list of column properties you can setup:
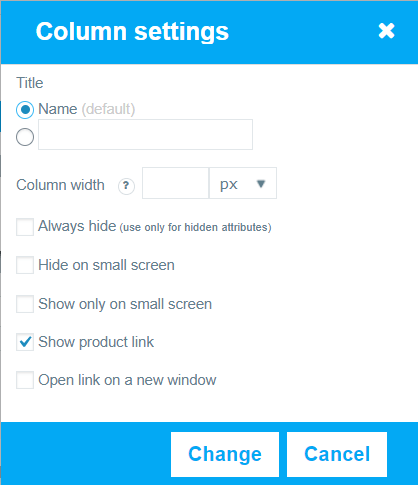
Column settings:
Name. Use the default title of the column or rename it and enable the field for the custom title.
Column width. This setting sets the maximum width for the column, but the rest of the table content also affects its width – check how it looks on Preview.
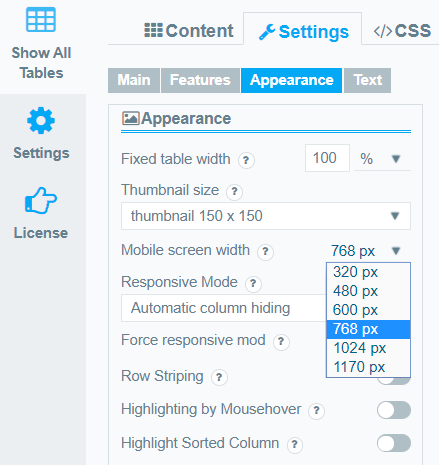
Enable “Hide/show on small screens” if you want to make this column hidden. The screen size you can set in the Appearance tab:
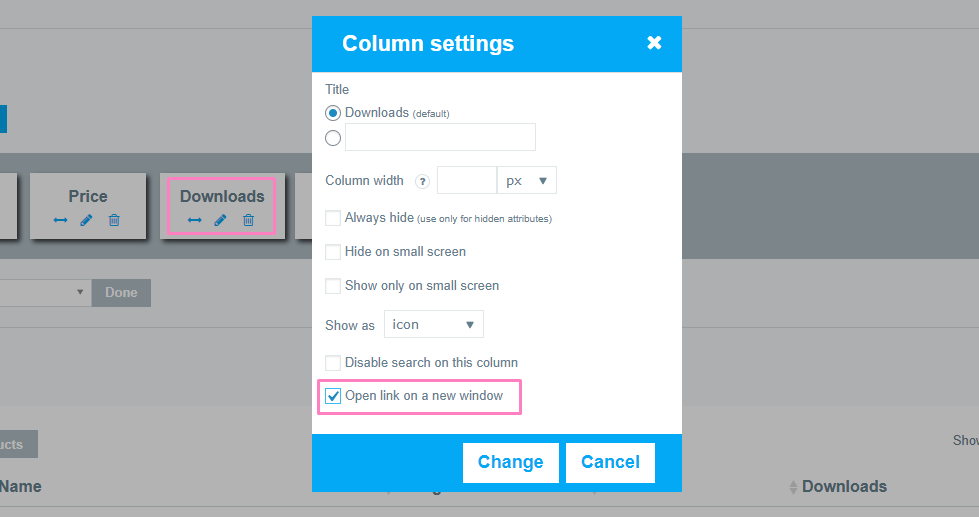
Check the last setting if you need to open the link on a new window.
Show product link – disable is you don’t need to make name clickable.
Responsive mode thumbnail size (for Thumbnails) – Set the size in the pixels to display full-size thumbnails on mobile.
Cut description text (for Summary and Short description) – set the number of characters of text to display in the column.
Show icons/text -(for Stock Status) – select in which way to display status – as an icon, text or both.
Show quantity items in-stock (for Stock Status) – display the quantity of available product. The option works with variable products too.
Show as an icon, text or image (for Features). You can select the icon or upload the image to display
Display download link as an icon, button, link, audio, video (for Downloads). For displaying links you need to fill up the downloadable files form in product settings.
If you want to download link, opens in a new window, enable Open link in a new window In the Downloads column settings.
Note – all the features values are synced with WooCommerce, so you can’t edit its content directly; to manage any of them, you need to change product properties via WooCommerce Product editing.
Now, content for the table is ready and you can move to the Settings tab for further customization.