Product Table gives you all the control which information to show in the product table.
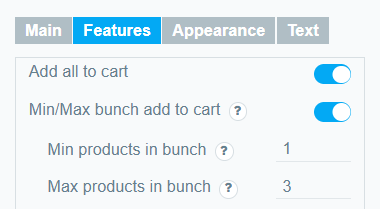
WooCommerce Product Table comes with Add to cart button, plus options of Add selected to cart, Add all to cart .
Firstly, everything that you need to do, move to “Select properties to add to the table” in the Content Tab and add “Buy” property to the table.

Table with Add selected card and Add all to a cart
In order to add features move to Feature Tab.

Show message after put product to cart
Standard visuals prevent the user from knowing what to do next.
Practice shows that pop-ups with an offer to place an order or continue shopping do a good job with this task.
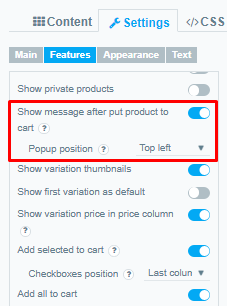
Go to Settings / Features to enable this option enable “Show message after put product to cart” option
Popup position .Here you can also choose where to display the popup with a message about adding to the cart.
Hide view card link
By default, the plugin comes with a View Cart link, but you can choose not to display it.
To do this, go to Settings / Features and select the Hide view cart link option .
After adding the product, this link will not appear:
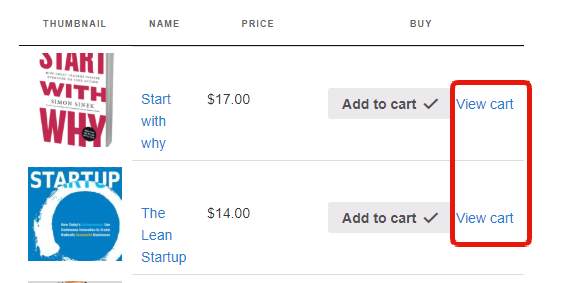
Product Table with hidden quantity input
Explore this article to learn more about how to Hide quantity input at the buy button
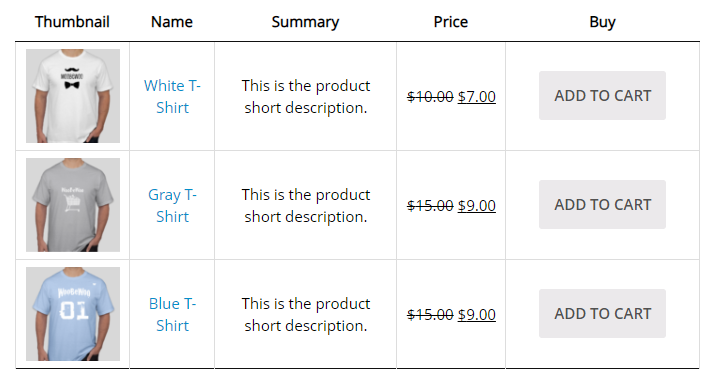
Added cart button to Thumbnail column
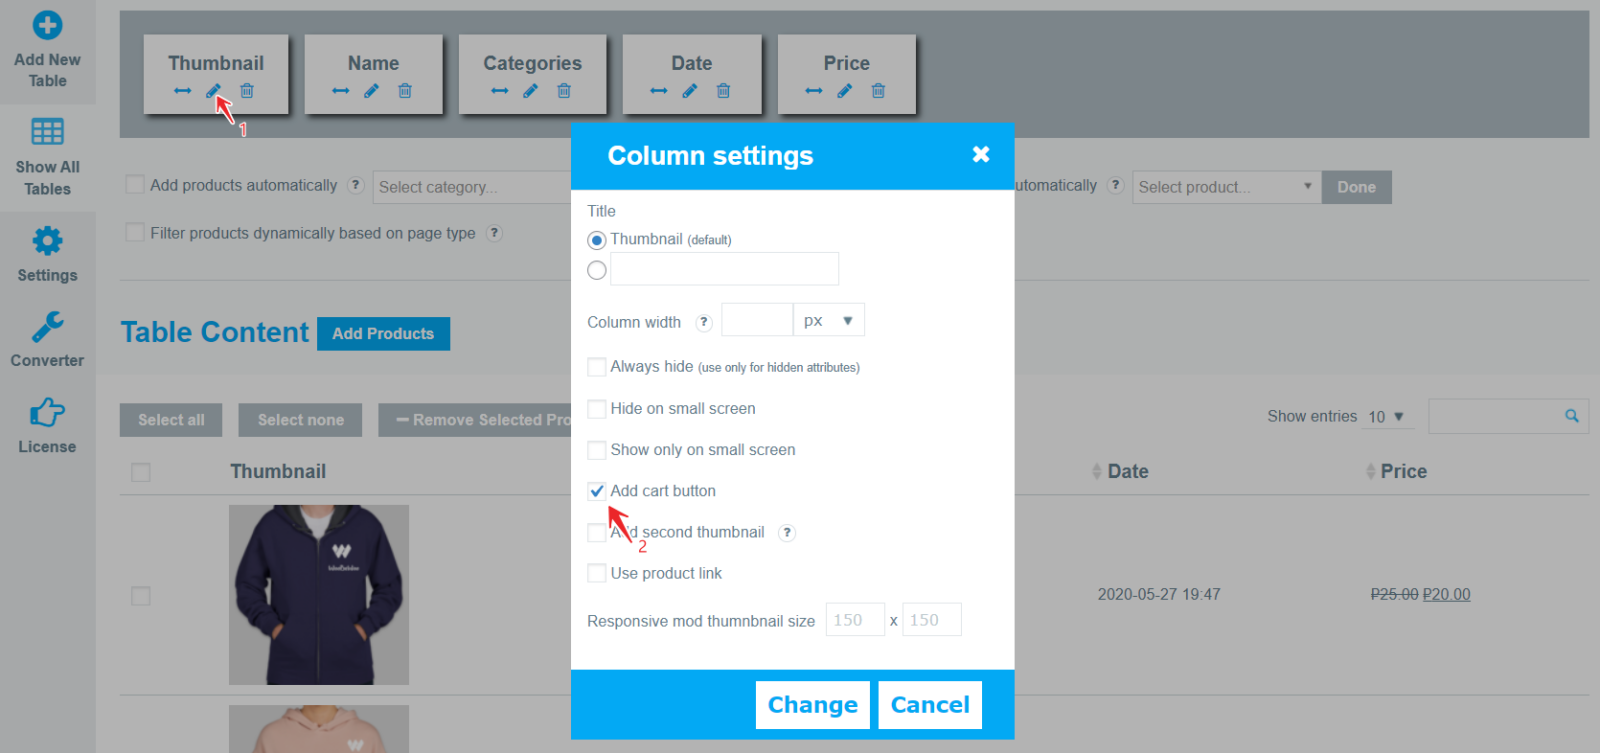
You can put a buy button right below the picture of your product. To do this, go to the plugin menu->Content-> go to the “Thumbnail” column settings and check the Added cart button option. Save your changes.
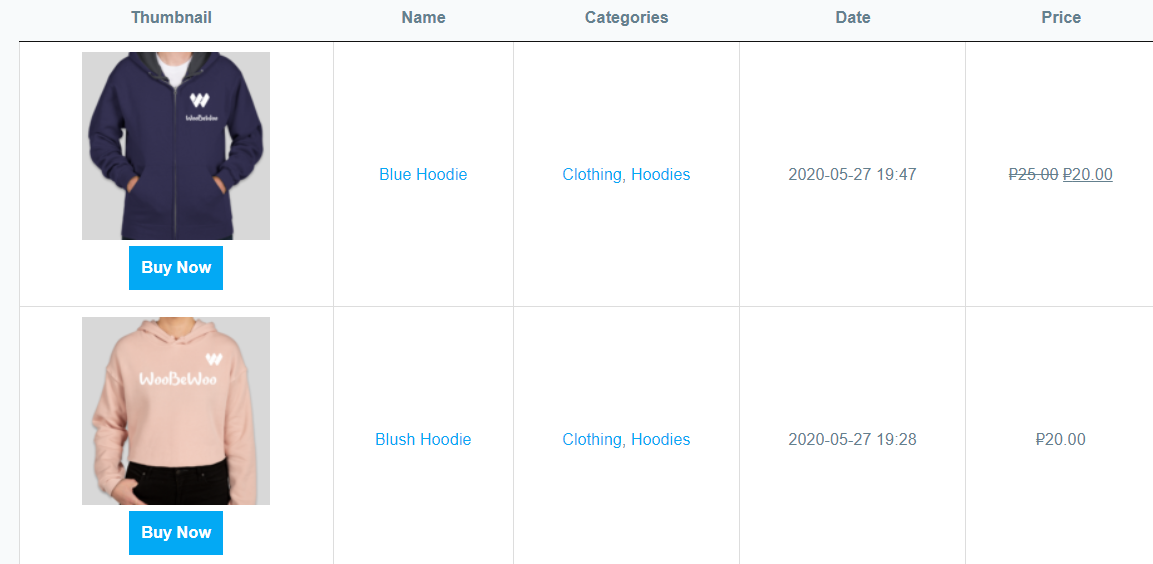
Now there will be a button below the product image, which you can customize in the same way as the button in the “Buy” column.
Add to cart button design
Explore this article to learn how to style and customize your Add to Cart button
