Let’s examine the first steps in getting started with our Free WooCommerce Product Filter WordPress plugin. Follow this simple tutorial, and in a couple of minutes, you will be ready to add such an effective tool as Product Filter into the store!
1. Plugin installation
In order to install a plugin make three simple steps:
- Download plugin WooCommerce Product Filter Plugin for WordPress by Woobeewoo.
- Upload it to the WordPress plugins directory.
- Activate.
2. Creating the first Product filter
On the left navigation menu click on Add new filter. In a pop-up window insert a title of the filter and click Create.
After that, you are able to customize a filter. All the necessary information and detail instructions look at the Filter Main settings.
When you\’ve finished customizing, the last step is to add a filter to the page.
3. Adding filter into the site content
-
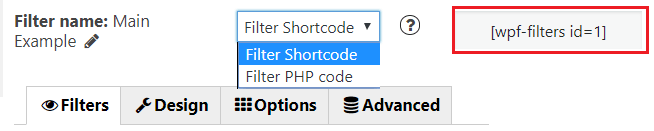
Input shortcode
Copy Shortcode under the main tabs and paste it to the website content. Product Filter plugin will display the filter on appropriate post/page using settings tuned in this filter.
Filter PHP code can be inserted at any place of the page code – to display exactly in this place, for example in the header or footer of the page.
In case you are utilizing Product Filter in the store sidebar, Product Filter Widget can also be included.
To display the Product Filter on a sidebar, move to go to the WP Admin > Appearance > Widgets. Expand the sidebar dropdown option then drag and drop Filter widget. Select the filter and Save.
-
Elementor widget
If you’re using an Elementor page builder, you can easily manage the filter settings while in the editor.
To do so, you need to open the needed page with Elementor, select the Woofilters widget and drop it to the section.
If you already created a filter in the WordPress Dashboard, you just need to select it from the Select Filter dropdown.
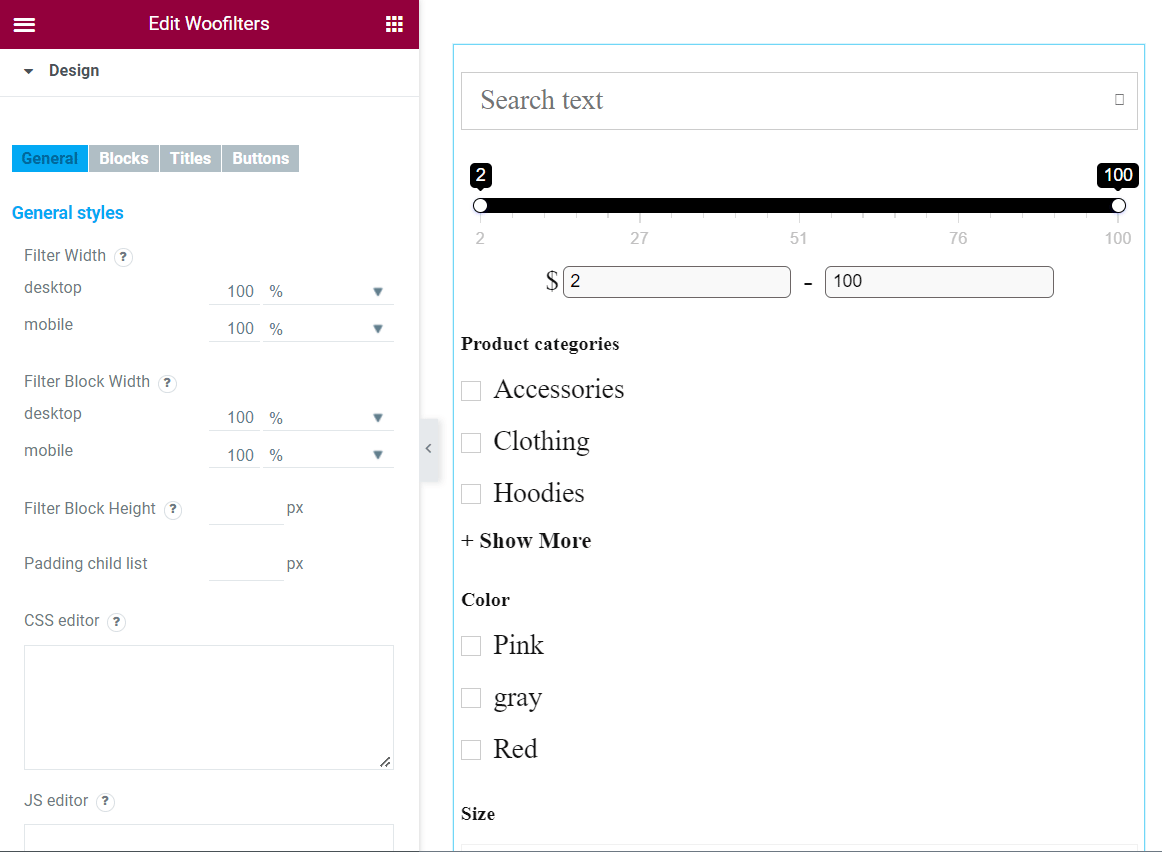
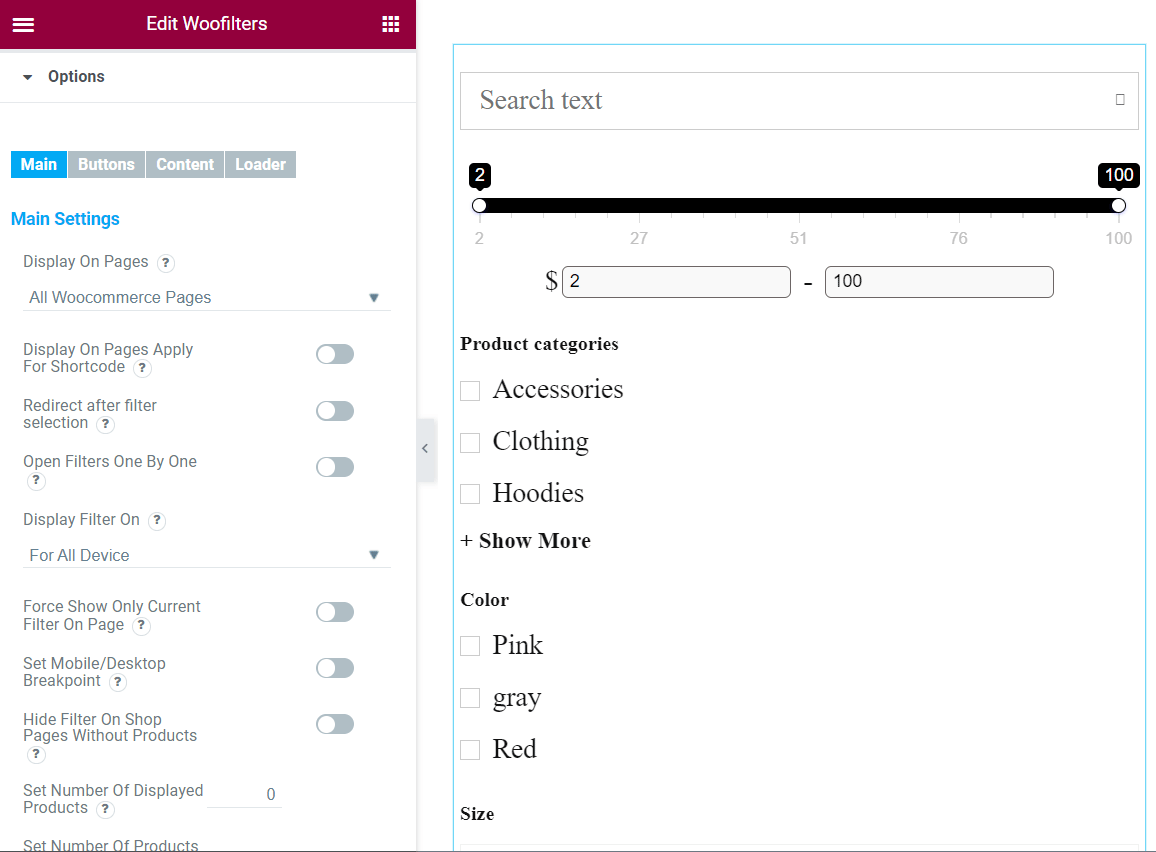
After you’ve selected the filter, you get the settings to edit it just the same you have in the Dashboard. Here you can fully manage your filters content.
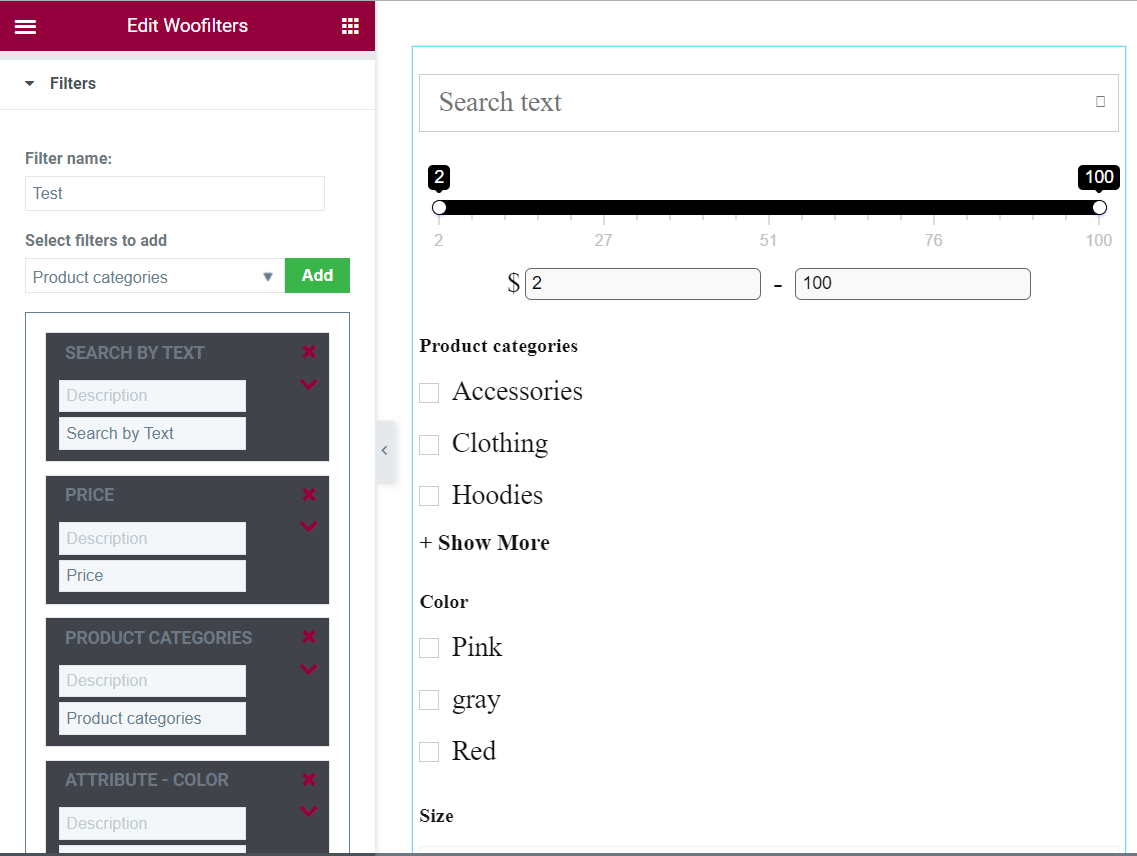
In the Style tab, there are the same options available in the main, buttons, content, and loader settings pages in the Dashboard.
The Advanced tab has the design settings for filters.